Making the Most Out of Your Interior Design Photography Shoot: Tips & Tricks
One of the best parts of working with interior designers, home builders, and architects is the opportunity to highlight finished projects with high end images that illustrate the unique beauty of quality craftsmanship, materials, and design skill.
With the right preparation and techniques, you can achieve stunning images that will help you stand out from the competition and lets potential clients to get a feel for your individual style. Here are my top tips and tricks.
Pre-Shoot Prep for Interior Design Photography
The key to any successful shoot is thorough planning and preproduction. Be sure to communicate and discuss expectations—an agreed upon “shot list” is ideal that way you’re sure to not miss specific features such as masonry work, specialty elements/materials, and architectural details.
Before any photos are taken, it is beneficial to take the time to set up the shoot location, check the lighting, and prep each locale.
This includes things such as cleaning the area, removing any clutter, and making sure the furniture is arranged in an aesthetically pleasing way (beds made, surfaces clear, etc). You may want to enlist a professional cleaner or home stager, or at the very least try and remove all personal items. Proper lighting is crucial so make sure that it is not too bright or too dark.
In the case of artificial lighting, try to evenly distribute throughout. This can be done by using multiple light sources or a single light source with a diffuser. If you are using multiple light sources, it’s important to make sure they’re all the same color tone and positioned correctly so they don’t cast any unwanted shadows.
Tips for Capturing the Perfect Interior Design Photos
Once you’ve prepared the environment and lighting, it’s time to start taking photos.
Make sure to take multiple shots from different angles, photographing the full room and any unique components.
Use a variety of lenses. Different lenses mean different perspectives of the space.
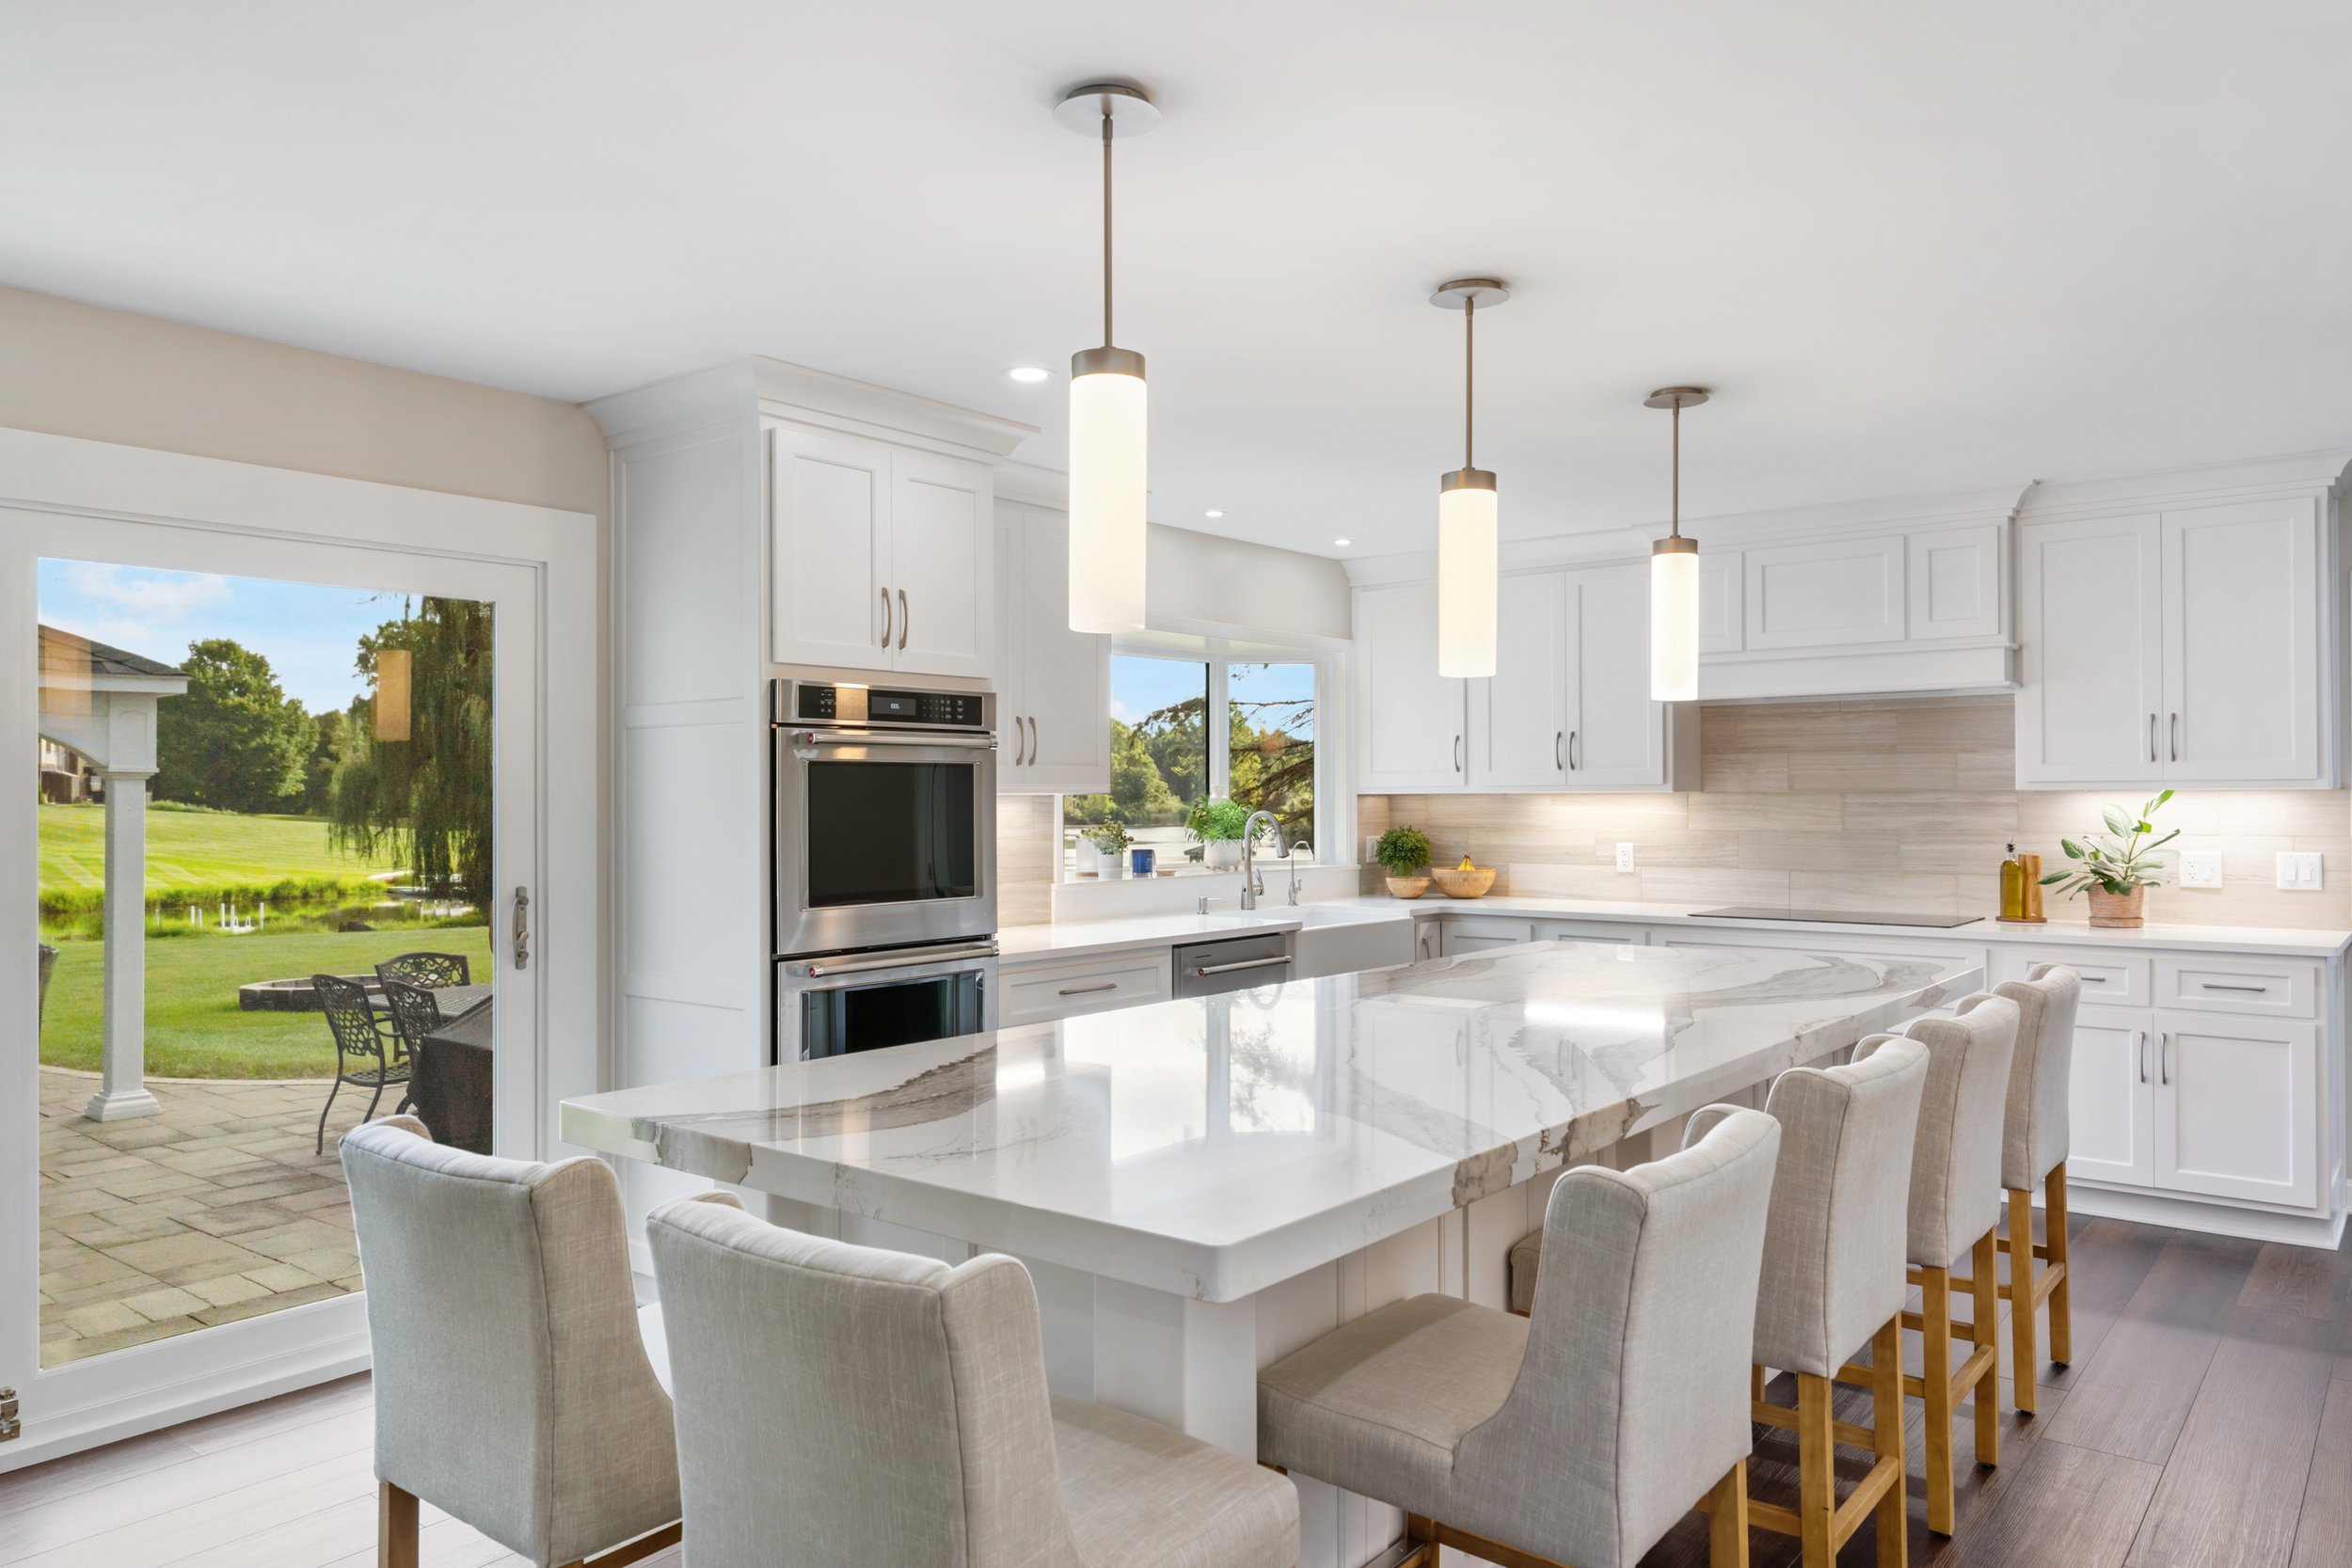
Pay attention to the details. Make sure to include any special items or features that make the scene pop. Props are a great way to bring in color (think flowers, fruit, greenery) and texture (think wood cutting board, metal objects, blankets) to add dimension and character.
Utilize natural light whenever possible as it adds a warm and inviting feel to the photos. If artificial lighting is necessary, soft yellow or amber bulbs can create this effect.
Shoot in RAW. Shooting in RAW allows more flexibly when making adjustments to the photos in post-processing.
Use a tripod. A tripod will ensure that the photos are sharp and at the same eye level.
It’s better to have too many photos than not enough, don’t be afraid to overshoot!
Interior Design Photography Trends
Interior design photography is constantly evolving and new trends are emerging all the time. Some of the current trends in interior design photography include:
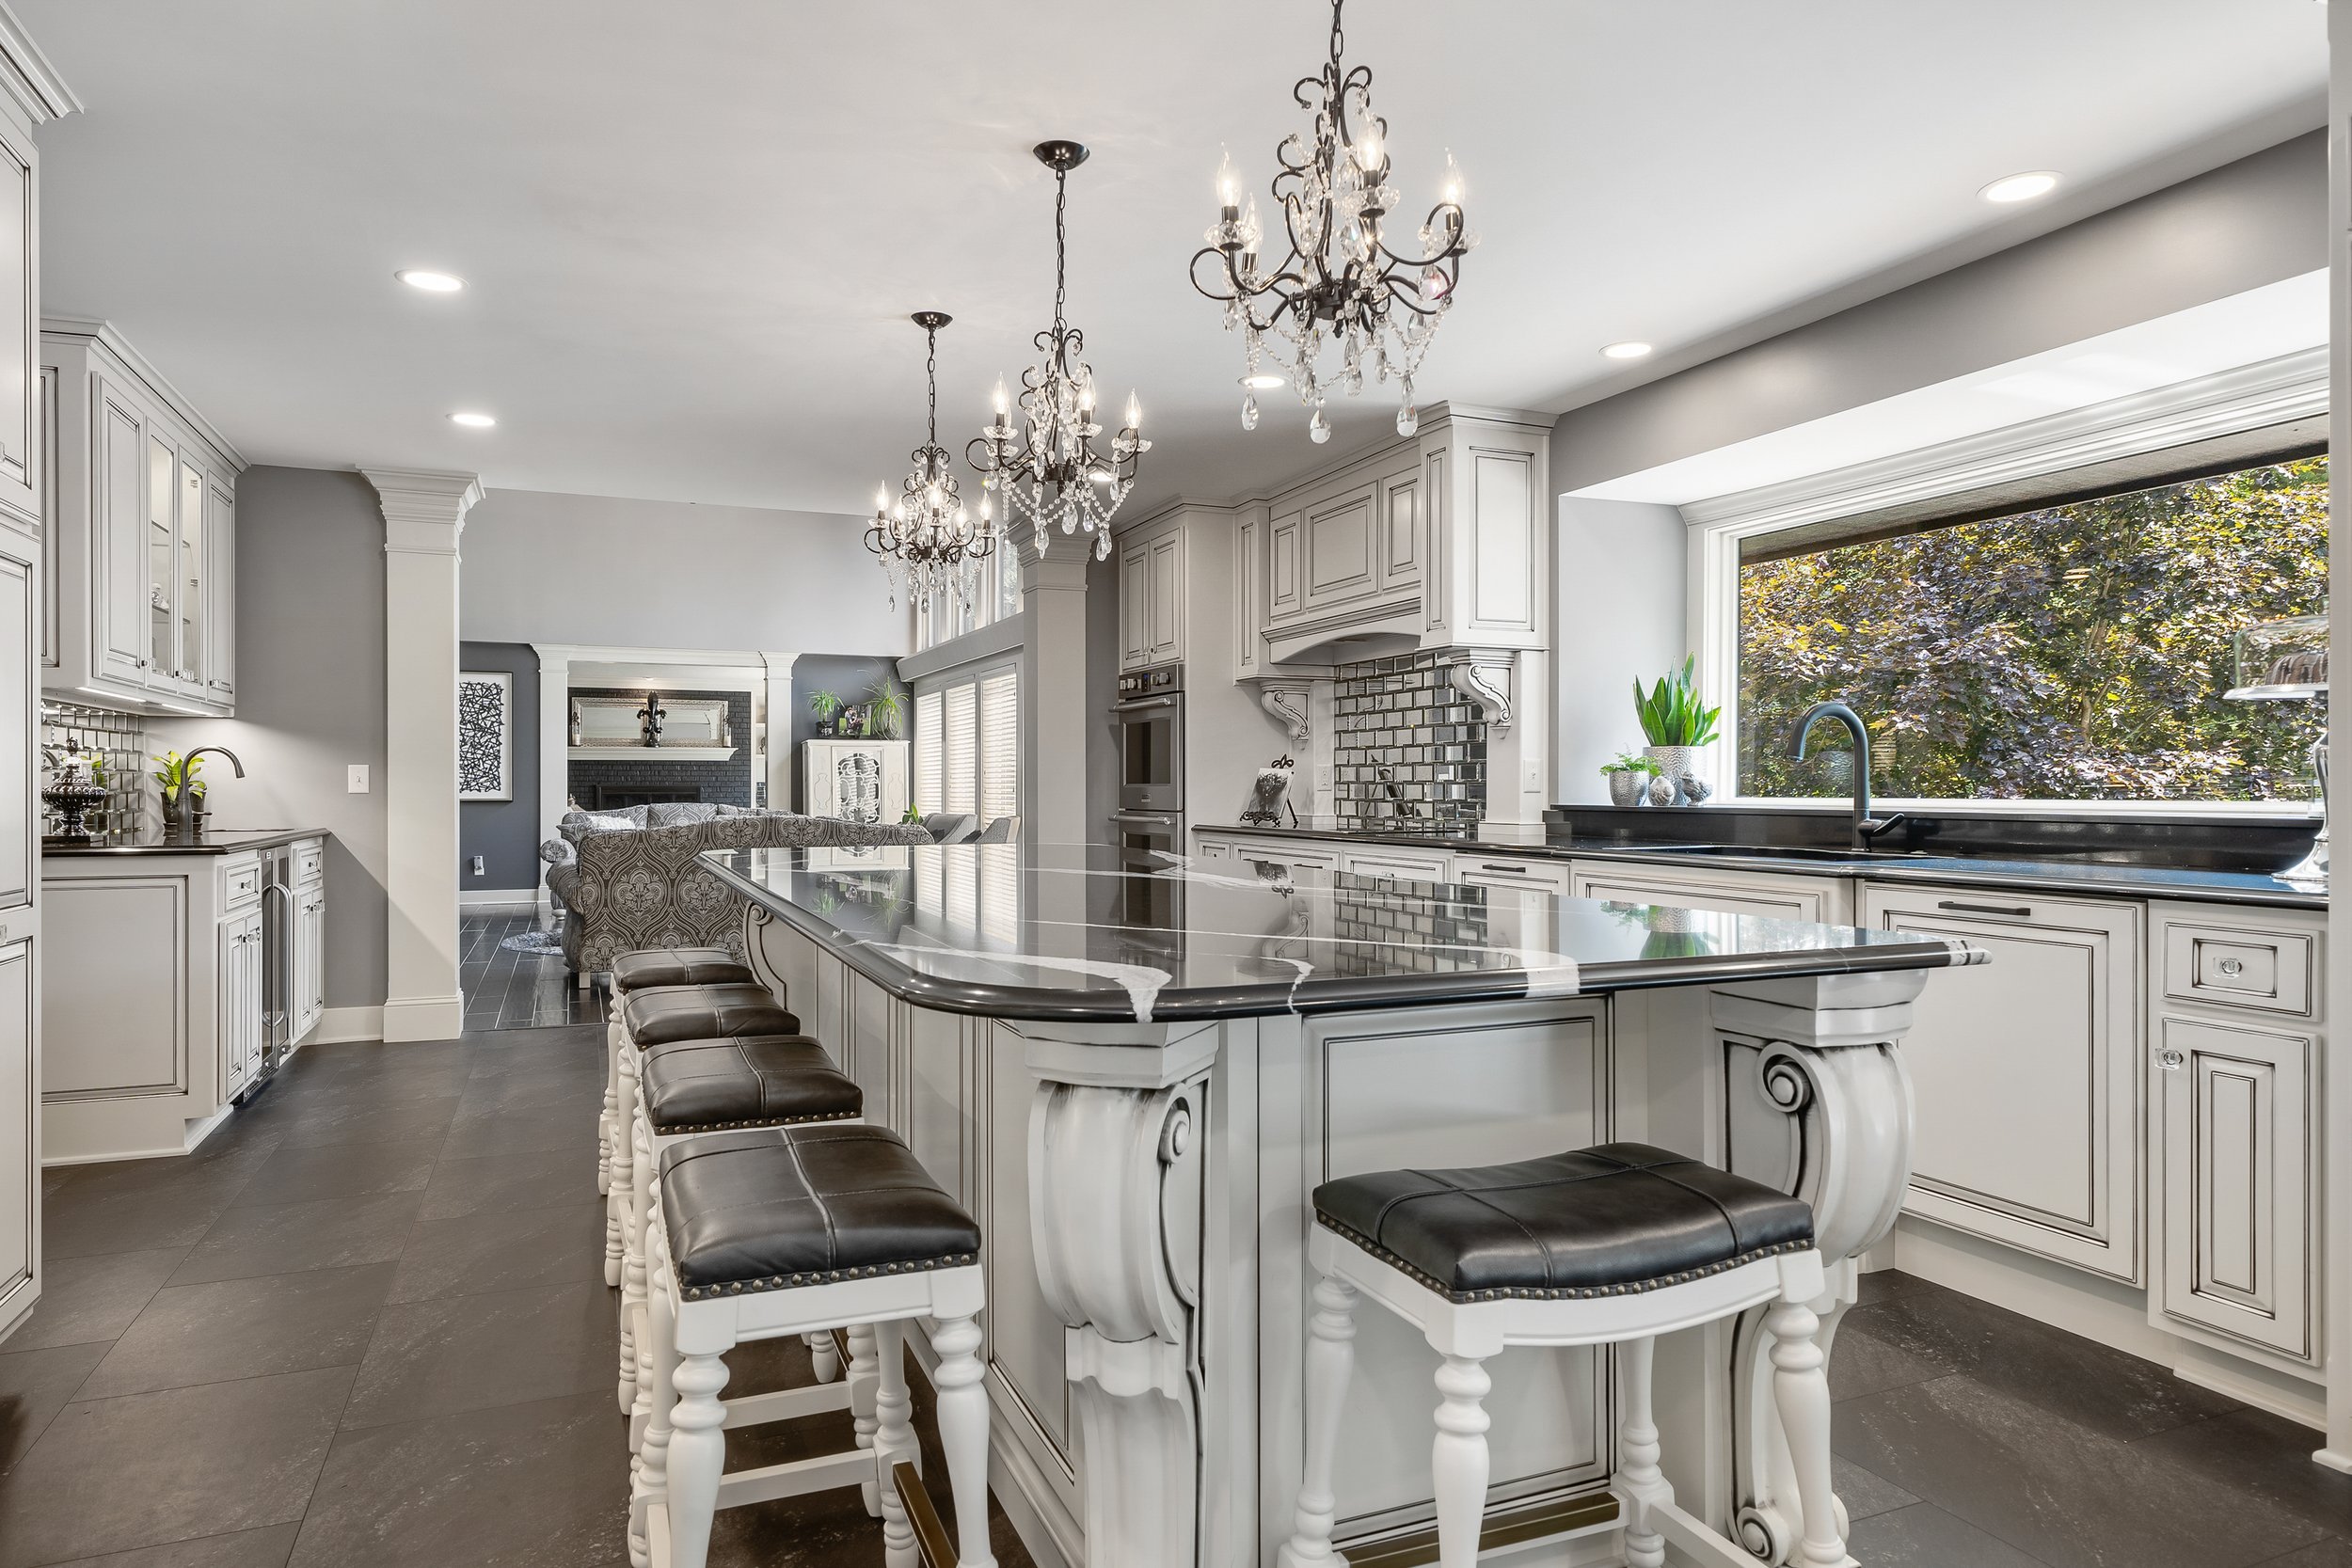
Dark and moody lighting. This type of lighting can add a dramatic and dreamy atmosphere to the photos.
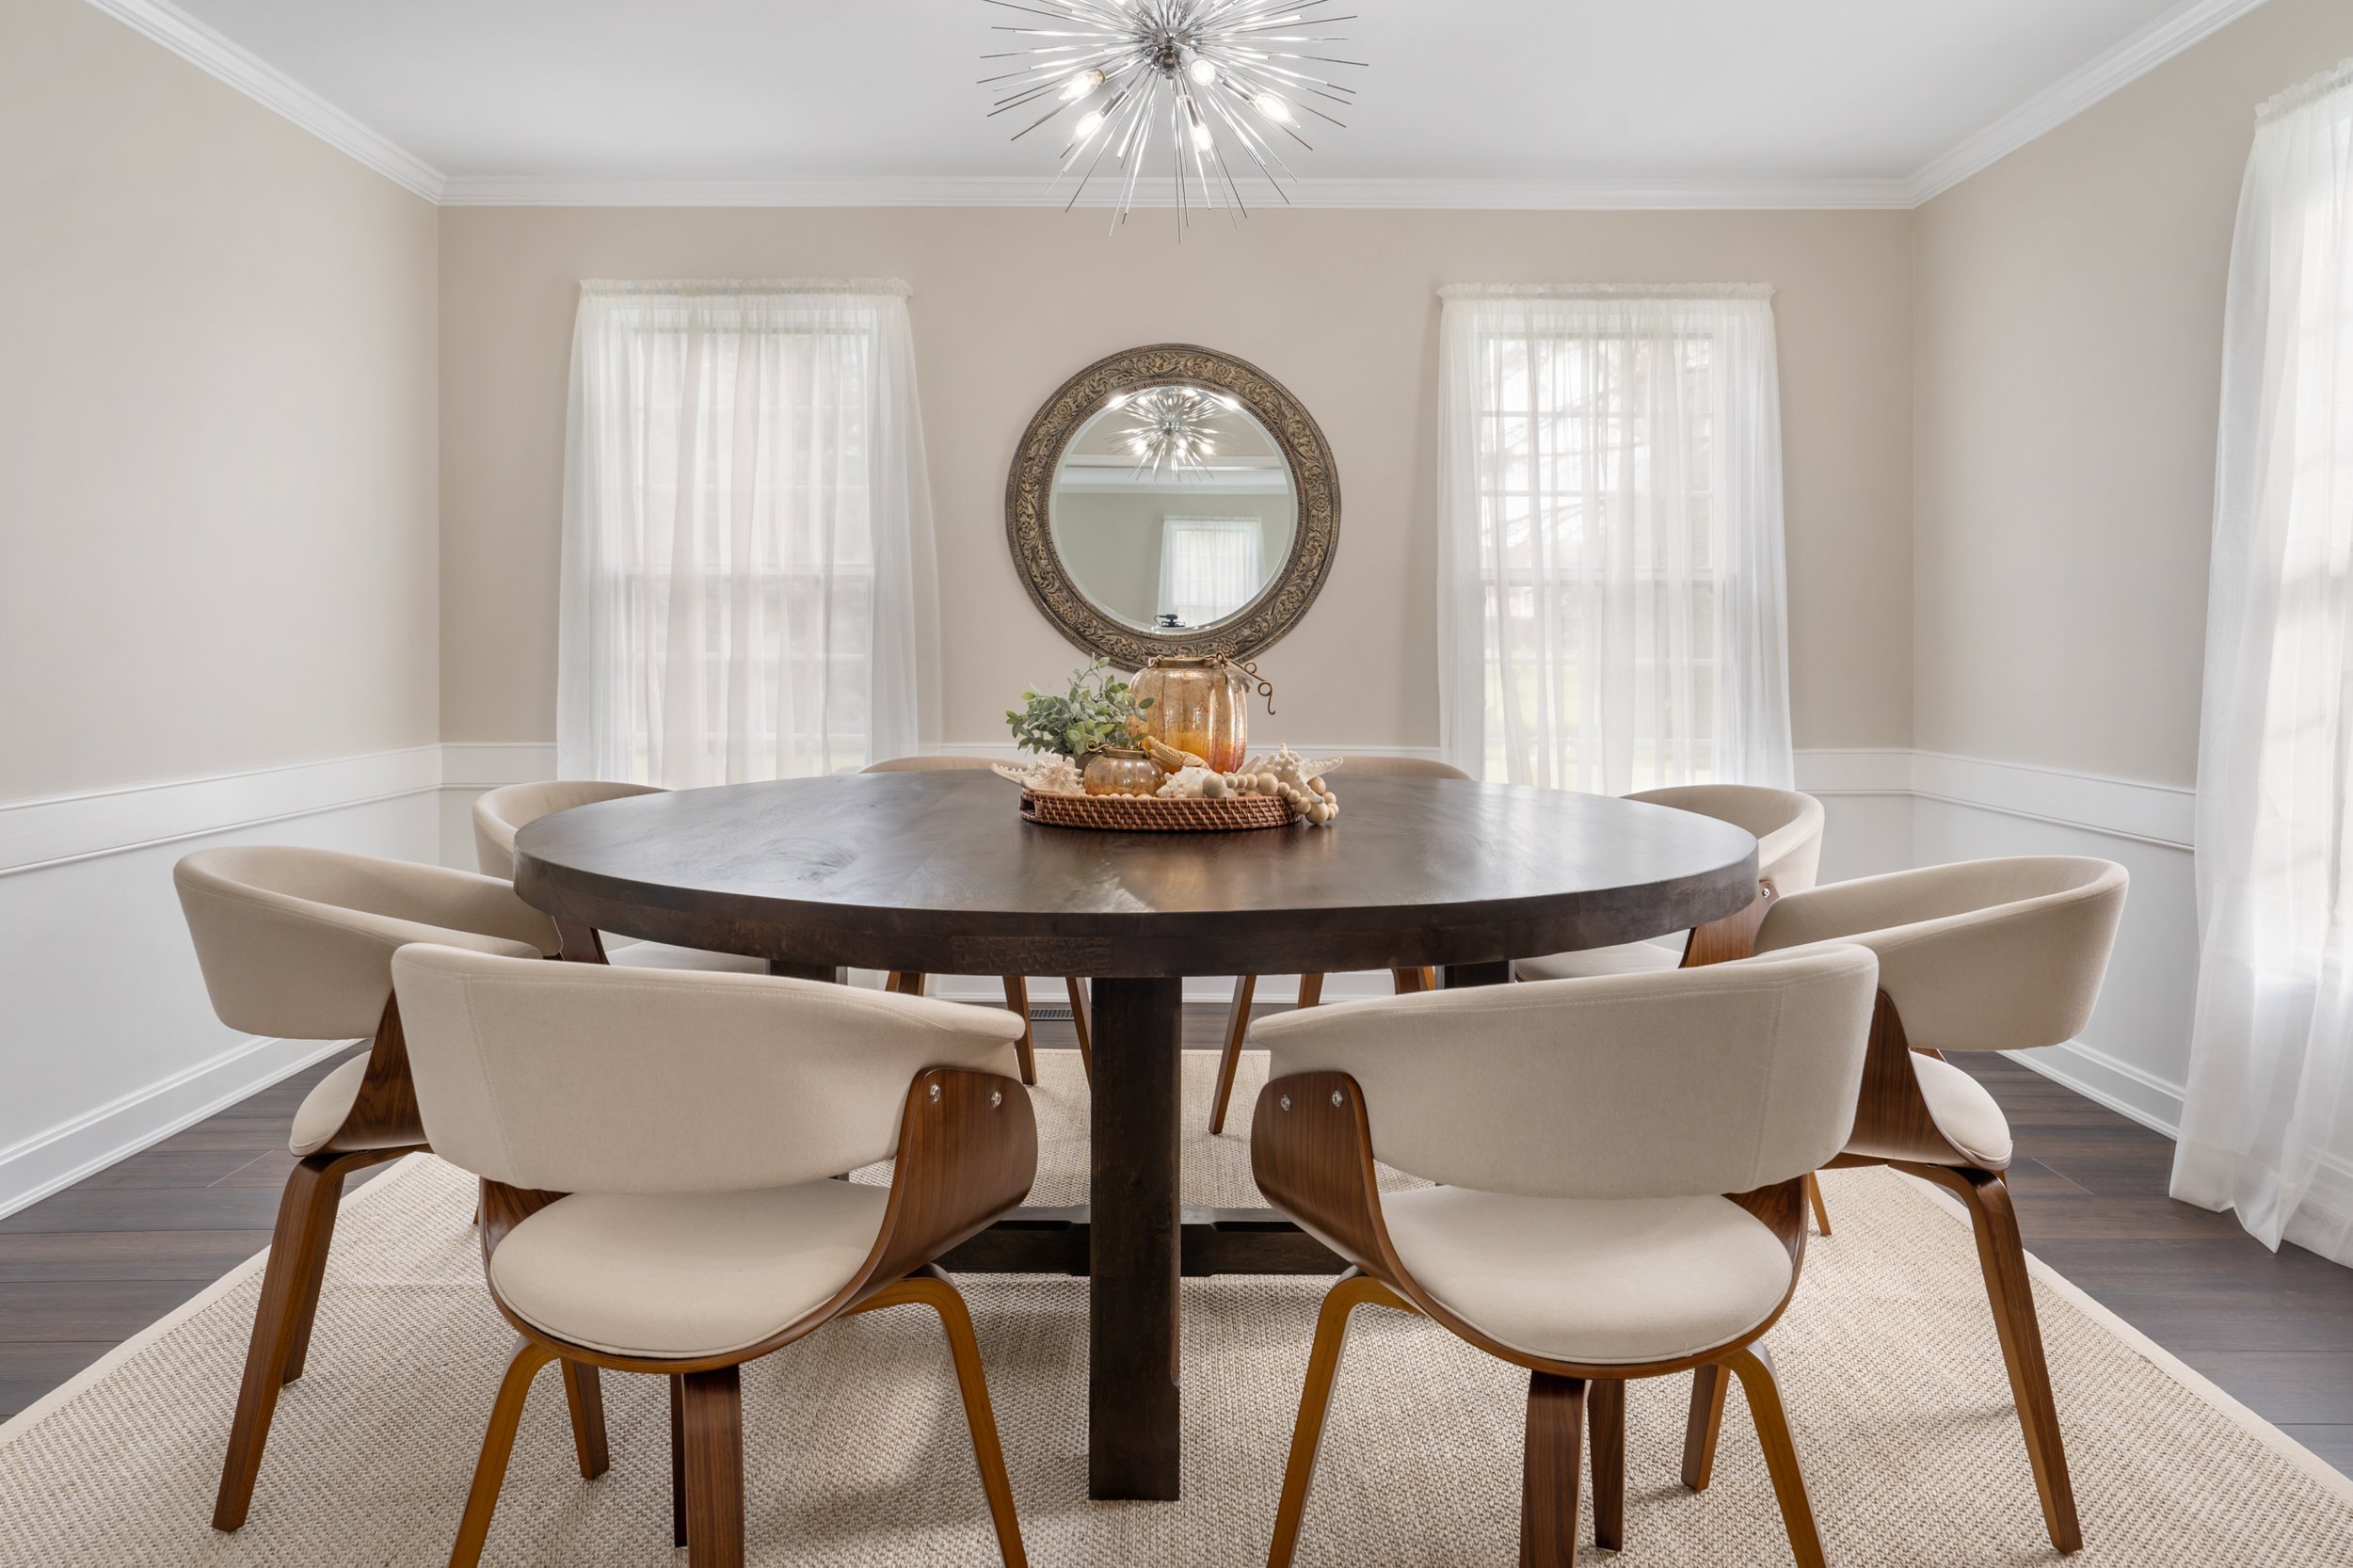
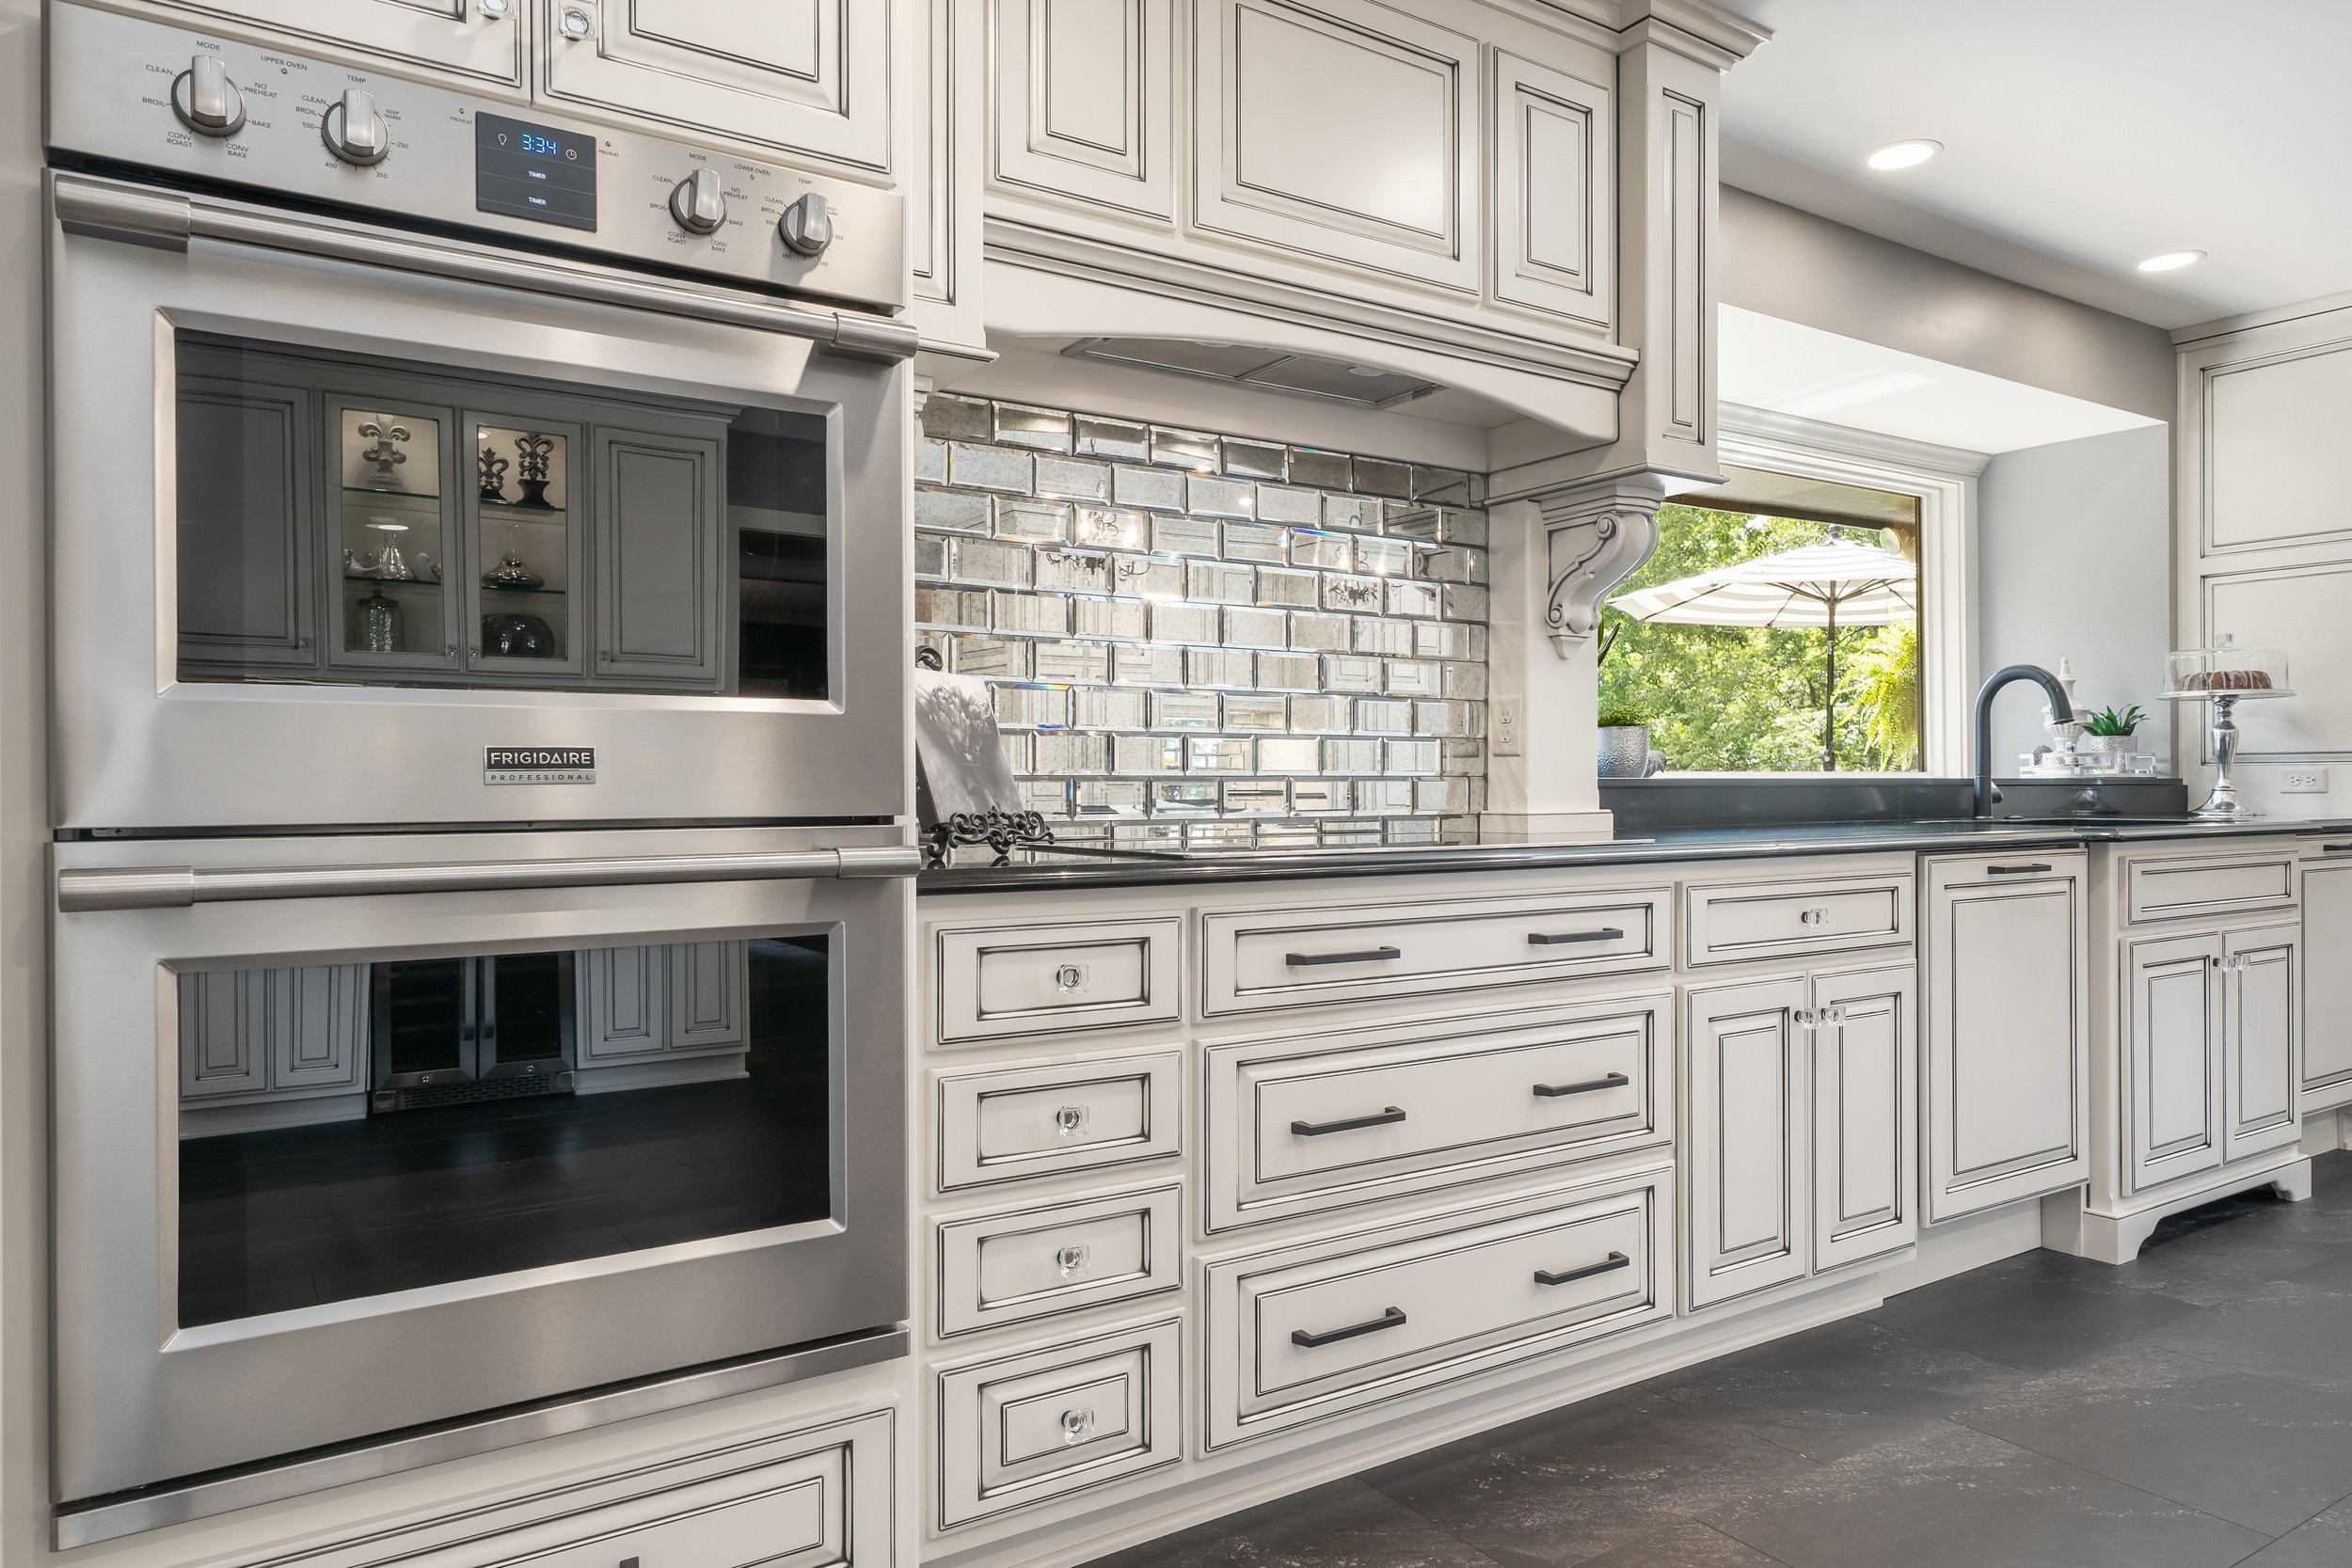
Reflections. Using reflective surfaces such as mirrors and windows can add a unique perspective to the photos.
Natural textures. Incorporating natural elements such as wood, stone, and plants can add a sense of warmth and coziness to the photos.
Geometric shapes. Using geometric shapes such as triangles and rectangles can add an extra layer of interesting and dynamic compositions.
Conclusion
Interior design photography is a fundamental part of marketing and selling a home, space, or design service. By taking the time to properly prepare for the shoot, paying attention to details, and using the right equipment, you can capture beautiful and eye-catching images that establish you as the go-to person in your field.
Don’t have the time or interest in shooting your design project yourself, I’m always happy to help—reach out today!
All photos by Tony Frantz featuring Mary Allen Designs
